Last month, my friend, Cheryl and I, committed to giving a workshop to the garden club on a subject we were trying for the first time, “How to make Hypertufa Troughs“. Risky? Foolhardy? Fun! We were interested and I must say, excited to see for ourselves how it would turn out.
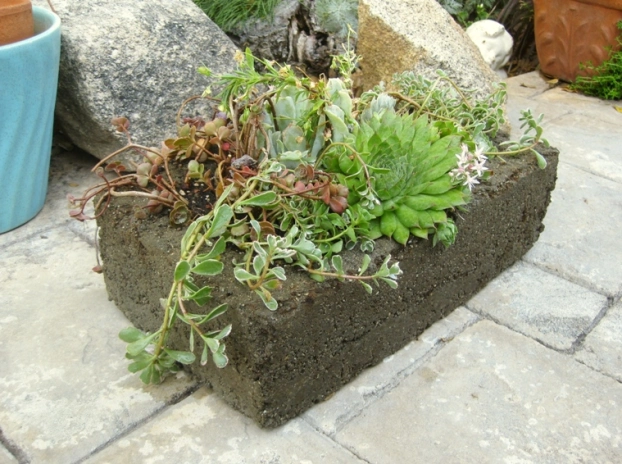
Why make hypertufa troughs? For cost of the materials, Portland cement, perlite and peat, for us $37, you can make any size and shape plant container you want for your plants. These can show off small plants that would otherwise get lost if planted in a garden bed.
Tufa is a very porous natural limestone rock. It was discovered over many years ago that alpine plants grew very well on it. Alpine plant and Bonsai organizations caught on to the simulated tufa troughs quickly. Hypertufa is a substitute which you can make for yourself from a few easily available materials. You can use it to make simulated stone sinks, to cover recycled white glazed or metal sinks for planting in or to even make your own rocks.
The demonstration
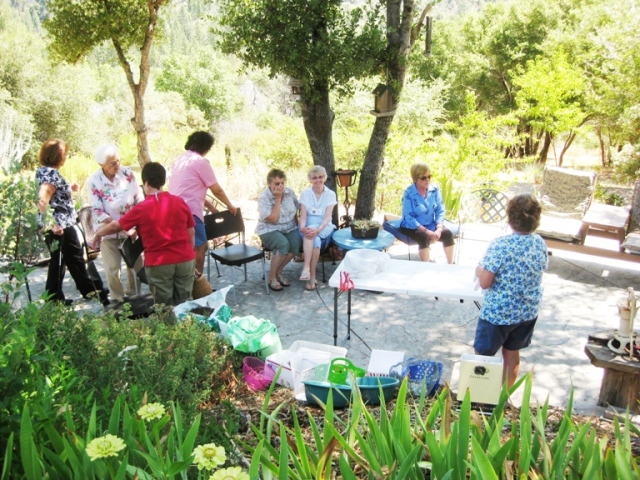
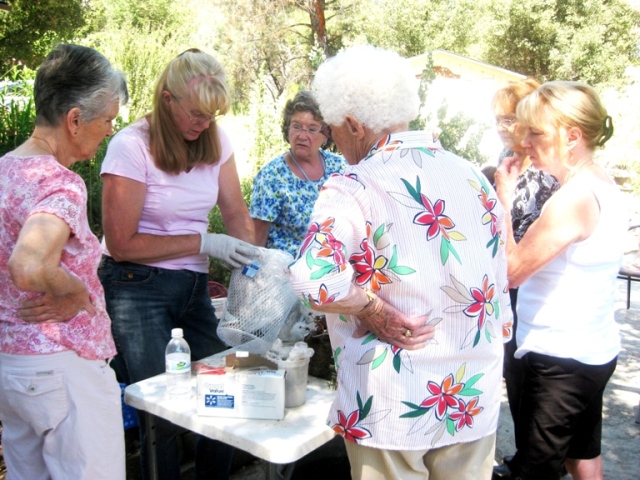
Today was the day for the Garden Club demonstration. Who were we to do this? Rank amateurs! …Didn’t stop us from having a great time learning, but how would the club ladies like it??
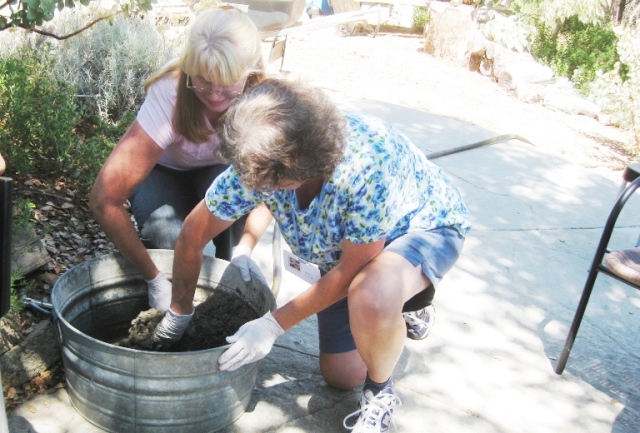
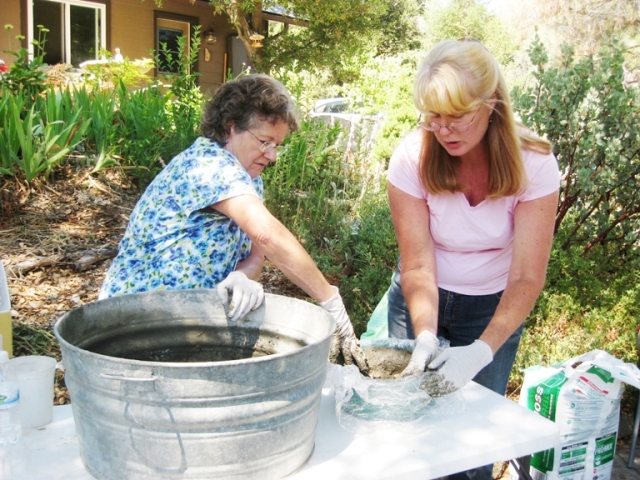
We premixed the three ingredients, Portland cement, peat moss and perlite before hand and were ready with the steps we’d show and with all assembled, started the demo.
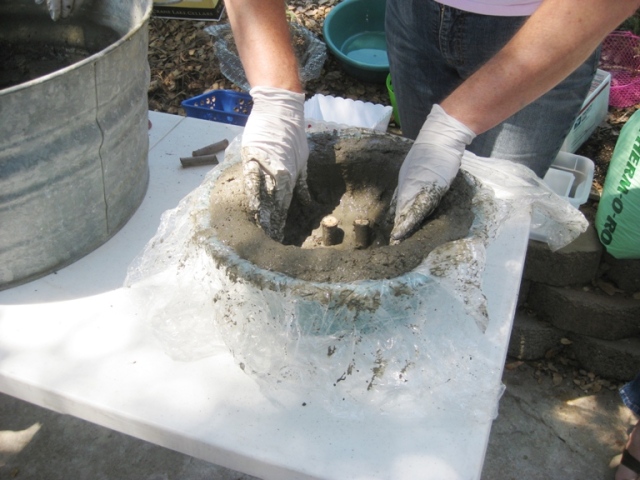
We showed how to mix the water in and how to insert the sticks for drainage holes and shape the sides up the side of the mold, in this case, a round tub.
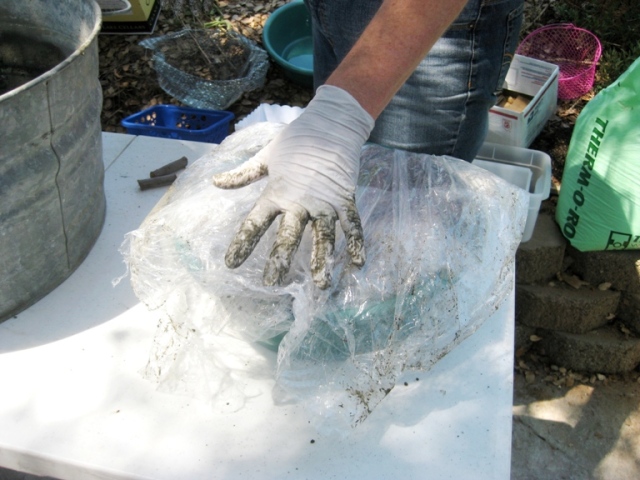
We showed how you line and then cover the mold with the dry cleaning bag. Then you put the whole thing in a plastic kitchen bag to dry slowly for a week.
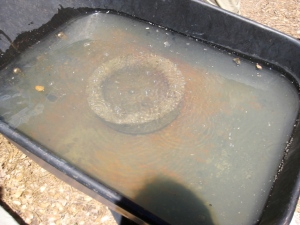
The troughs soak for three days to remove the lime from the cement,…bad for plants. I changed the water three times, dumping the limey water in the utility area where it couldn’t hurt plants.
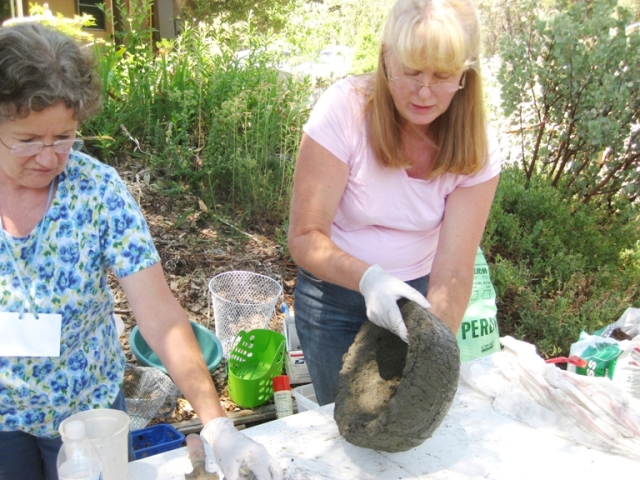
We unmolded the next batch. It hardened much sooner,..only two days. This recipe was 1 part each cement, peat and perlite. We used three scoops each for this small batch, meant to make one trough.
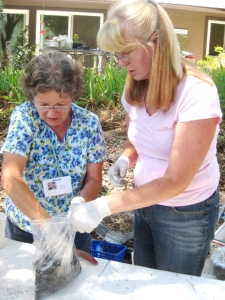
With the leftover mix today, we tried a different technique. For this kind, you plop the mix into a zip lock bag, form a pocket with your fingers, shaping the small ‘pot’ up against the sides of the bag. Don’t forget the short stick for a drainage hole. Then you zip it up to dry slowly in a freeform shape. These are called ‘pinch-pots’! They can be planted and arranged in groups, planted with tiny succulents. I’ll post a photo when it comes out along with an update with more projects (the successful ones) .
Cheryl and I finish the demo and by that time, to our surprise, the ladies had got up from their seats and gathered around, they were so curious! They seemed delighted by how much fun we were having. They even suggested we have a ‘Mud pie Day’, chip in on materials, and make their own on another day. So we will.
Next time, Cheryl and I’ll try using all kinds of shapes and kinds of molds, from popcorn bowls to zip lock bags I’d also like to push it a bit and try making a really large trough or container. Hypertufa garden globes made from kid’s plastic balls and pressing letters into the mix are two other projects I’d like to do. Birdbaths, rock garden troughs, stepping stones…..
Small plants for troughs
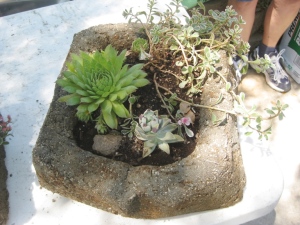
Plants for hypertufa troughs are Sedum, Sempervivum, Thyme, Echeveria, Aeonium, Miniature bulbs, Mosses, any kind of small sized plant. Also, there are Dudleya, Saxifrage, Armeria, Dianthus, Campanula, Thyme, Phlox and native CA wildflowers like Five-spot and Baby Blue Eyes..
Maybe our amateur experience will convince you to try this yourself to malke a batch of troughs. It’s loads of fun in groups!

5 comments